
Ya know how we know that the Microsoft Surface Pro 3 is a hot new device? Because we get support calls about getting act! to work on it just about daily. So we picked one up just to play a bit, and grab a few screen shots to help you Surface Pro 3 users get your act! together. (Inser t cheesy comedy drums here a la buh dum dum.)
The Surface Pro 3 touts itself as the tablet that can replace your laptop. Well, maybe. It is fast, with it’s Windows 8.1. That’s one thing to consider when setting up your act! on the device. Can your version of act! run on Windows 8.1. You do need act! 2013 or newer. (Don’t have a version that new? We’re happy to help with upgrades!) Installing act! on the Surface Pro 3 isn’t so much the issue. The calls we get are about the dialog boxes, field labels and anything else font related being, well. . . screwy. Let’s look at why and how to work around that.
One thing is, the Surface Pro 3 has a pretty amazing display, capable of resolution you’d see on a 24″ or larger monitor. The Surface Pro 3 comes out of the box with a default resolution of 2160 x 1440 pixels. On the tablet-sized screen, this means the default font would be so tiny, no one over the age of 25 can see it. To sort of work around that, Microsoft bumped the scaling in the Display Settings up to 150%. That means in many programs, in our case, act!, things wrap all goofy, buttons are bumped off the screen, and dialog boxes are simply messed up. Now, on to the work around. . .
Once you have act! installed on your Surface Pro 3, here are a few steps to improve your act! experience on your new Surface Pro 3:
1. Open a run prompt (Windows Key + R)
2. Type Control Panel
3. Click OK (or hit ENTER)
4. Click Display
5. Check the box “Let me choose one scaling level for all my displays”
6. Change the scaling option to Smaller – 100%
7. Click Apply
8. Sign out and back in to Windows for the change to be applied
This takes care of the exaggerated font size, but now everything on your Surface is teeny! We can fix that too.:
1. Right click anywhere on your Desktop
2. Choose Screen resolution
3. Change the resolution to 1600 x 900.
4. Click Apply
Take a look and see if that resolution works, if so choose “Keep Changes”. If not, click Revert and try another, lower resolution. The combination of these things should make your act! experience, and your eyes, far happier!
Not completely comfortable with all of this? Give us a shout, we can certainly help. Call us at (614) 221-0276 or e-mail support@trilogycrm.com.
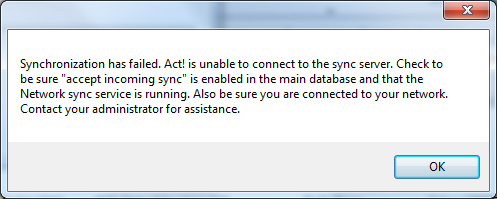
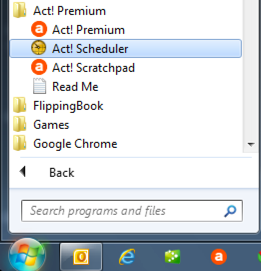
ACT! has included a handy little application called the ACT! Scheduler for quite a while now. It gets installed automatically and is rarely used. Up until the most recent versions, TrilogyCRM has not recommended using the ACT! Scheduler for your synchronization tasks. Mainly because the scheduler did not notify the user of a failed sync. We would have angry customers because they were assuming that the syncs were running every hour – when in fact the database had not synchronized for weeks.
The newest versions have the ability to setup email alerts. Woot Woot! Follow the steps below to setup the scheduler. If you will be setting up the email alerts – you will need to complete the email alerts FIRST.


We’re announcing ACT!v16 Service Pack 1 (Hotfix 1) has been certified for TrilogyCRM hosting customers! What does this mean for you? We’ll if you are using ACT!v16 and hosting with TrilogyCRM – you will be required to run this update.
This Service Pack does contain a schema update. That means:
Curious about what SP1 is all about? Here are some FAQs – http://kb.swiftpage.com/app/answers/detail/a_id/37445


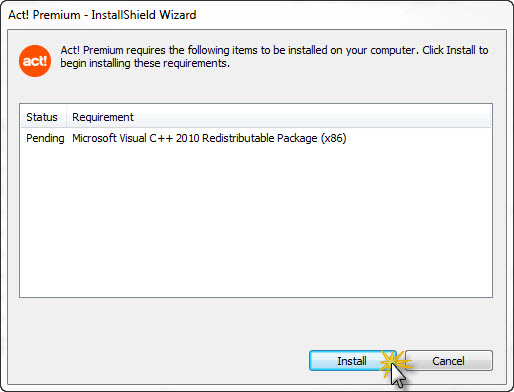
Follow the prompts to install the Service Pack. Once the service pack has been successfully installed – you can continue to download and install Hot Fix 1 (instructions below).
To apply Hot Fix 1, download it from http://www.act.com/support/download-center/, following the same process as installing Service Pack 1.


Now that you have upgraded to Service Pack 1 AND run the hot fix – it’s time to open your database and update the schema. Open your database. You SHOULD get a message indicating that the database needs to be upgraded and asking you if you want to backup your database. It’s a good idea to backup your database but not completely necessary. Since you are hosting – we have a way to recreate your database from the server should something happen.
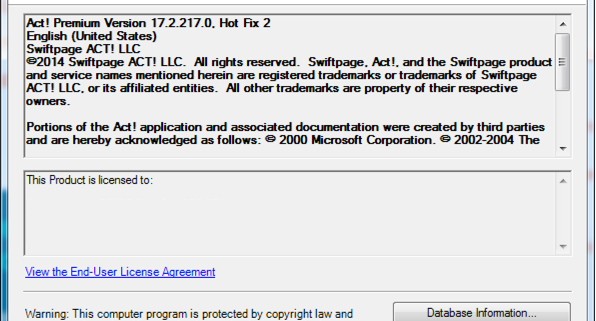
Click either yes or no and the database will upgrade to Service Pack 1 HF1. Once the process completes you can check your version by going to Help – About ACT!. You should see Act! Premium Version 16.1.207.0. Hot Fix 1

If you run into any errors or issues installing the service pack our technical support team will be available to assist you. Please initiate support by emailing support@TrilogyCRM.com and be as detailed as possible when explaining your issue. Tech support is available for hosting customers who have attempted the installation and encounter errors. If you prefer to have Tech Support process the update for you – additional billable support time will be incurred.
The following steps will assist you in creating a backup of your ACT! database. These instructions are provided to assist you in preparing your database to be uploaded to the TrilogyCRM ACT! Hosting Server. Please note that Act! has security features which apply to backup functions. Only Administrator and Manager level users have access to the database backup and restore functions. If you are unable to access these functions, please contact your Act! Administrator.
The first time that you launch ACT!, you will be asked to register ACT! and then activate the software.
Please use the following steps to register the program:
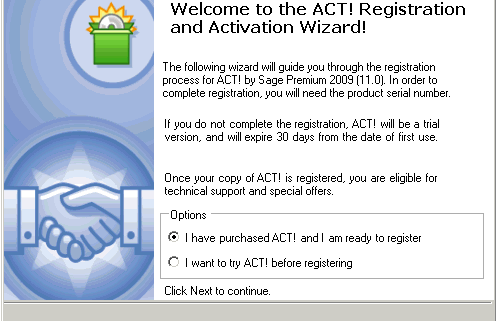
Launch ACT! and go to the Help menu then select Register ACT!. The ACT! Premium Registration and Activation Wizard – Welcome dialog box appear
If you are using the trial version, enable the I want to try ACT! before registering option click Next and ACT! will launch. Otherwise, click I have purchased ACT! and I am ready to register and click Next. The following Enter a Serial Number dialog box appear Read more
You receive the e-mail from your ACT! admin, your ACT! CC, or your hosting provider (hopefully TrilogyCRM!) and you follow the instructions to apply your Service Pack. The file starts to unpack and. . . “There is not enough space on drive C:\ to extract this package”.

What? You know you have about 14TB open. This is an iddy biddy file. You have tons of disk space!
It’s true, you do have enough disk space. If you copy the file the file, within the folder, it should extract just fine. In most cases, the file will be in your Downloads file. If you chose a different location, substitute that location where we reference the Downloads folder.

The file should extract and you’re on your way to Sage ACT! 2013 SP1!
Sage recently released Service Pack 1 for Sage ACT! 2013. If your database administrator is on top fo the releases, it’s likely that SP1 was installed at the server level, and now you need to apply it to your local copy. If you are the database admin, you might get a few calls about your users getting this message:

ACT! 2013 SP1 does include a database schema update. That basically means the format of the database is changed as part of the update. All of the databases, server and remotes, have to be running the same version. So, the first step is to check the version. Click Help, then About ACT!. If you are running SP1 the version is Sage ACT! 2013 Version 15.1.108.0.
If the versions don’t match, you’ll want to follow the instructions in this Sage KB http://bit.ly/Wvahig to apply SP1. After you apply the Service Pack, ACT! will prompt you to update the database. You must have Admin priviledges to ACT! to do so. If you receive a message that you don’t have the proper database rights like this:

At this point, you should get in touch with your database administrator. The ACT! database admin can login with their credentials, update the database, log out and then you are on your way! Of course, should you prefer expert help with applying the service pack, you can always engage TrilogyCRM’s support team. Give us a call at 866.303.0276 or for the quickest response, e-mail us at support@trilogycrm.com.
There are so many reasons the term “cloud-based” is in just about every tech conversation these days. Retirement of servers, desktop support, standardization – they are all viable reasons. The definition of cloud-based varies as well. The key to any of the definitions is out-sourcing. Getting something off your plate and letting someone else handle it. Another great reason is the security of having experts behind your database should something go wrong.
Recently a customer called in a panic. She had deleted virtually their entire database. It’s easier than you think. We all go about a mile-a-minute in our business day. It’s easy to just click something you don’t mean to click, and then “oops”, all the Contacts were gone. Since this is a Hosting customer, we were able to calm the user down, recut a remote database and all was well with the world within 20 minutes of her call. While we were getting her remote database cut, she was able to access the main database via the web. The customer barely skipped a beat.
In another recent customer incident, a self-hosted customer, their server was fried during a recent storm. Their IT department had their database backing up via tape drive. Fast forward 2 days and the IT company digging through tapes to reconstruct their ACT! files, we had to restore a database backup that was more than a month old.
Whether you are downsizing your server room, looking to shrink the burden of desktop support, outsourcing your ACT! hosting makes sense. It’s peace of mind and it’s smart business.